
In this post, I will walk you through installing MC4 connectors on your solar cabling. Maybe you’re making extension cables like me, or perhaps you’re setting up an RV, shed, or other DIY off-grid project. Even if you have a professionally installed system, understanding how to troubleshoot and fix damaged connectors is a handy skill to have. Ready to jump into it? Let’s get started!
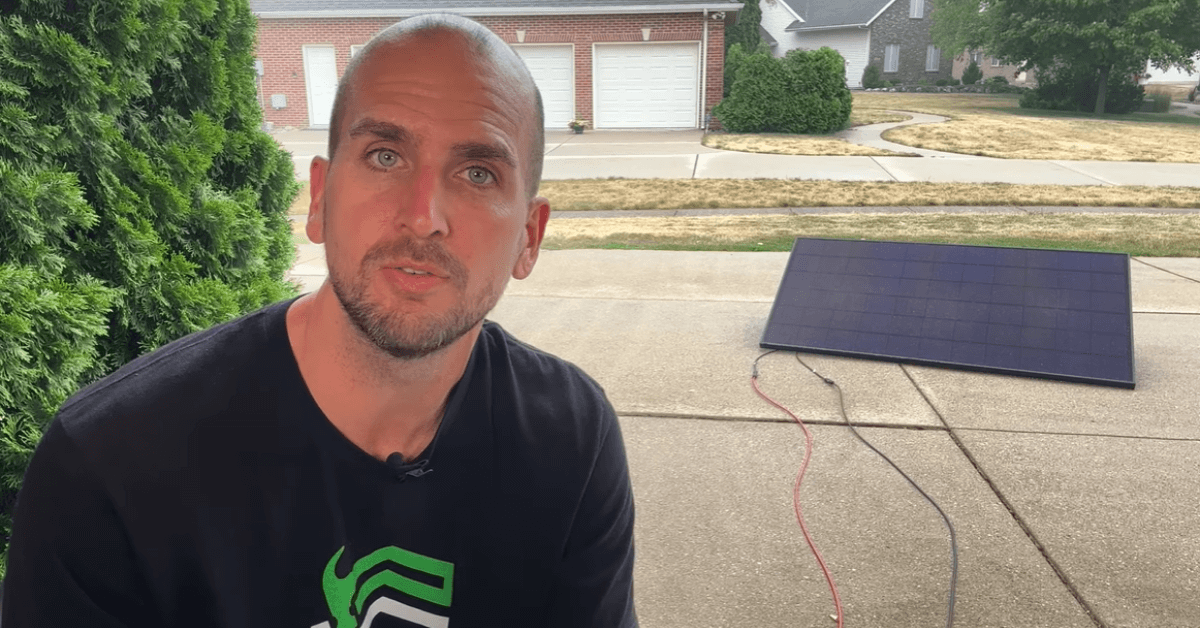
This post is based on a YouTube video on my Everyday Solar channel. If you’d rather watch the instructions as a video, it’s right here. For written instructions and images, keep reading below the video.
- Get the Required Tools and Equipment
For this project, I’m using a pretty inexpensive crimp kit from Amazon. It’s a package that comes with four different sets of MC4 connectors, shears, crimpers, and two spanners. You’ll find the link to this exact kit right here.

- Preparing the Cables
First things first, let’s strip back the insulation. I’m using the shears from the kit, but if you’re more comfortable with wire strippers, go for it. Just match them up to the correct gauge. In my case, I’m working with 10-gauge cabling. Once stripped, give those strands a light twist to keep them from fraying.

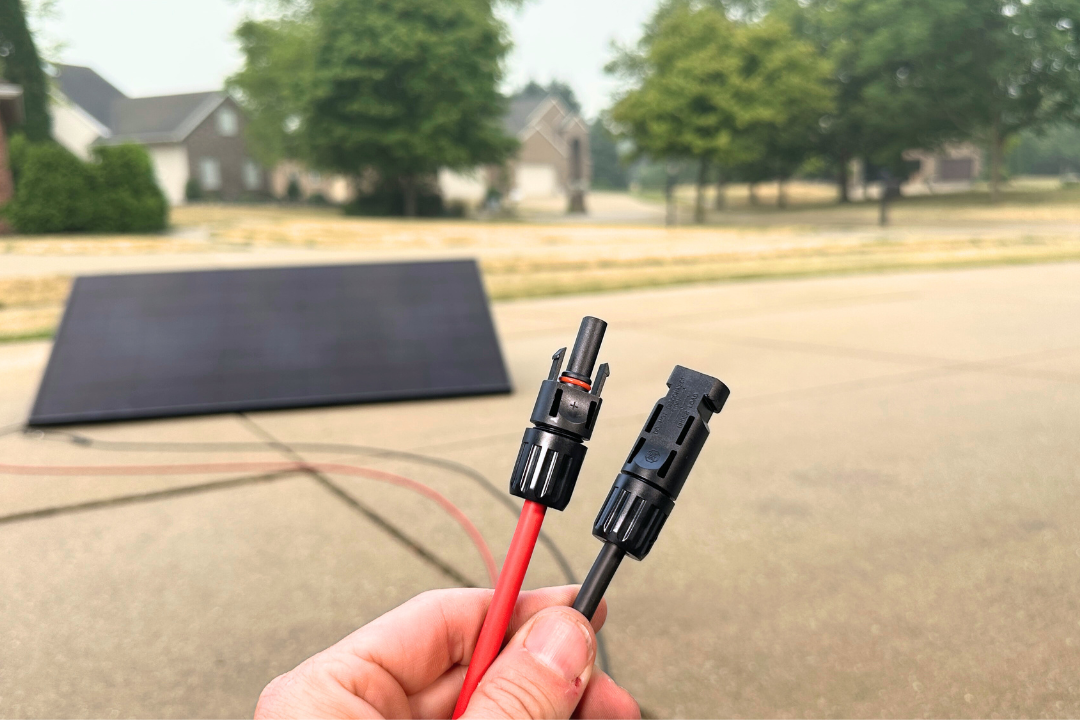
- Selecting MC4 Connectors
Here’s where it gets a little confusing. When people talk about male and female connectors, they’re referring to the metal contacts, not the plastic housing. The red (positive) side matches with the female metal contact, which corresponds to its plastic housing.

- Connect the wires
Understand your crimper. Mine has three different spots for 10, 12, and 14-gauge wires. Position your connector, gently press down, then introduce your wire from the other side. After crimping, give your connection a quick pull test to ensure it’s secure.

- Assembling the Connector
Next, unscrew the cap from the bottom of the corresponding connector. Here’s the order of operations: the cap goes on first, then the rubber grommet. Ensure it fits over the insulation. Finally, slide the plastic housing over. Once you hear it click into place, thread the cap onto the housing which will press down on the rubber grommet.

You can go hand-tight with it, but this is where the spanners come in handy for the final tightening.

- The Importance of Weather-Tight Seals
Your goal here is to create a weather-tight seal around your cable. This keeps water from sneaking in and damaging your metal contacts. You’ll see how the grommet compresses around the cabling, and the O-ring provides additional protection.
- Finishing the Other End
We’re almost done! Repeat the same process for the male end.
Additional Tips
And there you have it! Seven steps to installing MC4 connectors for your solar setup. One more tip is those spanners. They’re not only good for tightening but also great as release tools. If you ever need to remove the connection, just place them right at the connection, detent both sides, and voila!
I hope this post helps with your project. Don’t hesitate to reach out with any questions or comments. We always appreciate hearing from you.
Thinking about going solar for your own home? I’m here to help. Visit our homepage to get started with your quote.